Tired of cumbersome power cords and limited control over your accent lighting? Imagine the elegance and convenience of controlling your LED strip lights with a simple flick of a wall switch, just like any other fixture in your home. Hardwiring LED strip lights to an existing or new wall switch transforms them from temporary gadgets into integrated, professional-grade lighting solutions, elevating your home’s aesthetic and functionality. This comprehensive guide will walk you through the process of hardwiring your LED strips to a wall switch, ensuring a safe, efficient, and beautifully illuminated space.
LED Strip Light: Overview and Applications
LED strip lights, often called LED tape or ribbon lights, are flexible circuit boards populated with surface-mounted light-emitting diodes (LEDs), often backed with an adhesive for easy mounting. They are incredibly versatile, offering brilliant and customizable illumination for a myriad of applications. Their thin profile and flexibility make them ideal for subtle, hidden lighting, capable of transforming any space with ease.
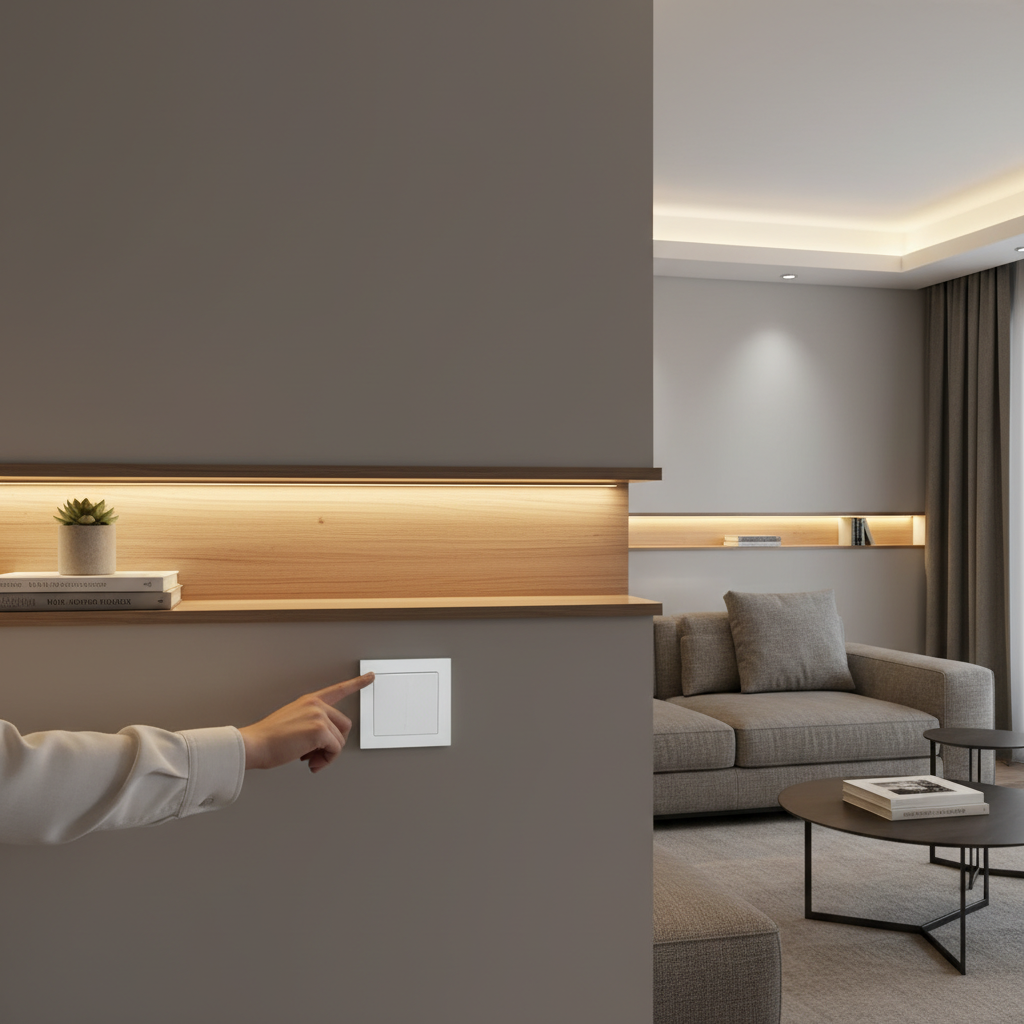
While commonly used with plug-in adapters, hardwiring LED strip lights to a wall switch unlocks a realm of permanent, integrated applications. This method allows for seamless installation under cabinets, along coves, behind televisions, or as architectural accents, creating a clean, wire-free look. It’s the preferred choice for homeowners seeking a sophisticated, permanent lighting setup that blends effortlessly with their existing electrical system. For such an installation, a crucial component is the LED driver, also known as a power supply or transformer. This device safely converts your home’s high-voltage alternating current (AC) to the low-voltage direct current (DC) that LED strips require.
Superior Advantages of LED Strip Lights
LED strip lights offer a compelling array of benefits, especially when integrated into your home’s electrical system via a wall switch.
One of the most significant advantages is their exceptional energy efficiency. LED technology consumes considerably less power than traditional incandescent or fluorescent bulbs, leading to substantial savings on your electricity bills. When paired with an appropriately sized and efficient LED driver, your hardwired LED strips become a beacon of eco-friendly illumination.
Furthermore, LED strips boast an impressive longevity. Designed to last for tens of thousands of hours, they significantly reduce the need for frequent replacements, saving you time and money on maintenance. A stable, hardwired power source further contributes to the lifespan of your LED strips by providing consistent, clean power.
Their flexibility and adaptability are unparalleled. LED strips can be cut to custom lengths at designated points and bent to follow intricate curves, allowing for truly unique lighting designs that would be impossible with rigid fixtures. While hardwiring involves initial setup, the resulting system offers permanent, convenient control from a wall switch, making daily use effortless.
LED strip lights also provide unrivaled versatility in lighting effects. From single-color strips that offer warm or cool ambiance to RGB (Red, Green, Blue) and RGBW (RGB + White) options that can produce millions of colors, the creative possibilities are endless. When integrated with a compatible system, these dynamic lighting effects can be controlled directly from your wall switch, transforming the mood and atmosphere of any room.
Finally, when properly installed by following safety guidelines and local electrical codes, hardwired LED strip lights are inherently safe. The low-voltage operation on the strip side reduces electrical risk, and the absence of harmful chemicals like mercury makes them an environmentally responsible lighting choice.
Comparison Table of Popular LED Strip Light Types
Choosing the right LED strip light is crucial for a successful hardwiring project. Different types offer varying features that impact their application and the necessary power components.
| Type of LED Strip | Voltage (DC) | Color Options | Power per Meter (Avg.) | Brightness (Avg. Lumens/m) | Key Feature | Hardwiring Consideration |
|---|---|---|---|---|---|---|
| Standard 12V LED Strip | 12V | Single (Warm/Cool White, Red, Blue, etc.) | 4.8W – 14.4W | 300 – 1000lm | General lighting, accent | Requires 12V DC driver; prone to voltage drop on long runs, may need thicker gauge wire. |
| Standard 24V LED Strip | 24V | Single (Warm/Cool White, Red, Blue, etc.) | 4.8W – 19.2W | 350 – 1500lm | Longer runs, more stable | Requires 24V DC driver; better for longer installations, less voltage drop. |
| RGB/RGBW LED Strip | 12V or 24V | Millions of colors | 7.2W – 18W | 400 – 1200lm | Dynamic color changing | Requires multi-channel RGB/RGBW driver and a compatible controller (often integrated). |
| Outdoor (IP Rated) LED Strip | 12V or 24V | Single or Multi-color | 7.2W – 19.2W | 400 – 1500lm | Weatherproof, durable | Requires an IP-rated LED driver and all connections must be sealed to protect against moisture. |
Buying Guide for Suitable LED Strip Lights
Selecting the appropriate components is fundamental to a successful and safe hardwired LED strip light installation. It’s not just about the strip itself, but also the critical power supply and a compatible wall switch.
1. Define Your Lighting Needs:
Before purchasing, consider the purpose of your lighting: Is it for ambient mood lighting, task lighting under cabinets, or vibrant accent lighting? Where will it be installed—indoors in a dry area, or outdoors where it needs protection from elements? Your desired brightness and color scheme (e.g., warm white, tunable white, or multi-color RGB) will dictate the strip you choose.
2. Choosing the LED Strip Light:
- Voltage (12V or 24V DC): This is crucial. Your LED strip’s voltage must match your LED driver’s output voltage. 24V strips are generally preferred for longer runs as they experience less voltage drop, resulting in more consistent brightness across the entire length.
- LED Density: Measured in LEDs per meter, higher density typically means brighter, more uniform light without visible “hot spots.”
- IP Rating: For damp locations (bathrooms, kitchens) or outdoor use, an IP (Ingress Protection) rated strip is essential. IP65 is splash-proof, while IP67/68 are suitable for more direct water exposure.
3. The Indispensable LED Driver (Power Supply/Transformer):
This is perhaps the most critical component. It converts your home’s 120V or 240V AC power into the low-voltage DC power your LED strips need.
- Voltage Matching: As mentioned, if you have a 12V strip, you need a 12V driver. For a 24V strip, a 24V driver is required.
- Wattage Calculation: Calculate the total wattage required for your LED strips:
(Length of Strip in Meters) x (Watts per Meter of Strip). Then, add a 20-25% buffer to this total for optimal performance and longevity, preventing the driver from running at maximum capacity. For example, if your total strip wattage is 80W, you’d need a driver of at least 100W (80W * 1.25). - Type:
- Dimmable vs. Non-Dimmable: If you plan to use a dimmer wall switch, you must purchase a dimmable LED driver. Not all drivers are dimmable, and using a standard driver with a dimmer switch will result in flickering or damage.
- Enclosure Type: Consider where the driver will be mounted. Enclosed drivers are safer and more common for general installation, especially in junction boxes or behind walls. Ensure it has proper ventilation.
- IP Rating: If the strips are for outdoor use, the driver may also need an appropriate IP rating or be housed in a weatherproof enclosure.
- Quality and Certifications: Always opt for reputable brands and drivers with safety certifications (e.g., UL, CE, RoHS). This ensures reliability and compliance with safety standards.
4. Selecting the Wall Switch:
- Standard On/Off Switch: The simplest option for basic control.
- Dimmer Switch: If you desire brightness control, ensure you purchase a dimmer switch compatible with LED lighting and, crucially, with your chosen dimmable LED driver. Not all dimmers work with all LED drivers. Look for “ELV” (Electronic Low Voltage) or “MLV” (Magnetic Low Voltage) dimmers if your driver specifies.
- Smart Switches: For advanced control via apps, voice commands, or scheduling, a smart wall switch can be integrated. This often requires a smart LED driver or a separate smart controller between the driver and the strips.
5. Essential Wiring and Connectors:
- Electrical Wire: Use appropriate gauge wire rated for in-wall use (e.g., 14 or 12 AWG for AC connections). For low-voltage DC connections to the strips, ensure the wire gauge is sufficient to prevent voltage drop, especially over longer distances.
- Wire Connectors: Wire nuts, Wago connectors, or lever-style connectors are used to secure electrical connections.
- Junction Boxes: For safe and code-compliant enclosure of high-voltage wiring connections.
Reputable LED Strip Light Brands on the Market
Investing in quality components from reputable brands ensures the longevity, performance, and safety of your hardwired LED strip lighting system. While the market is flooded with options, certain brands consistently deliver reliable products across both LED strips and their essential power supplies.
For LED strips, brands like Armacost Lighting, HitLights, and Diode LED are well-regarded in the DIY and professional installation community. They offer a wide range of voltages, densities, and color options, including high-CRI (Color Rendering Index) strips for accurate color representation. These brands often provide clear specifications and compatibility information, which is invaluable for hardwiring projects.
When it comes to LED drivers (power supplies), Mean Well is a globally recognized leader. Their drivers are known for their robustness, efficiency, and wide range of wattages and voltage outputs, including dimmable versions. Other reliable manufacturers for LED drivers include Philips Advance (for commercial-grade solutions) and various specialized lighting component suppliers. Selecting a high-quality driver is paramount as it’s the heart of your hardwired system, converting and regulating power safely.
Many reputable brands that produce LED strips also offer their own line of compatible LED drivers and accessories, simplifying the selection process. For smart home integration, brands like Philips Hue offer smart LED strips, though their integration with traditional wall switches for hardwiring typically requires their specific ecosystem components rather than a generic hardwired setup.
“The longevity and safety of a hardwired LED strip installation are directly tied to the quality of its components, especially the LED driver. Never compromise on certified, reputable power supplies, as they are the bridge between your home’s electrical system and the delicate low-voltage LED strips.” – Sarah Chen, Electrical Engineer & Lighting Design Specialist
When making your choice, look for brands that offer clear product specifications, adhere to international safety standards (like UL listing for North America or CE for Europe), and have positive customer reviews and support.
Tips for Installing and Using LED Strip Lights Correctly
Hardwiring LED strip lights to a wall switch is a rewarding DIY project that offers a clean, integrated lighting solution. However, it involves working with electricity, so safety and precision are paramount.
Safety First: Your Non-Negotiable Priority
- Always Disconnect Power: Before touching any wires, turn off the power to the circuit you’ll be working on at your home’s main circuit breaker.
- Verify Power is OFF: Use a non-contact voltage tester to confirm that the wires are completely de-energized. Do not assume the power is off just because the switch is in the “off” position.
- Understand Your Limits: If you are uncomfortable or unsure about any aspect of electrical wiring, do not hesitate to consult or hire a qualified electrician. Electrical work can be dangerous if done improperly.
- Adhere to Codes: Be aware of and follow local electrical codes and regulations. These are designed for your safety.
|
Our Picks for the Best LED strip light in 2026
As an Amazon Associate I earn from qualifying purchases.
|
||
| Num | Product | Action |
|---|---|---|
| 1 | White Led Strip Lights for Bedroom Small Dimmable LED Lights Strip 16.4ft Super Bright Flexible LED Tape Lights Rope Light for for Room Home Decor Luces Leds for Living Room Kitchen Vanity Mirror |

|
| 2 | Govee RGBIC LED Strip Lights, Smart LED Lights for Bedroom, Bluetooth LED Lights APP Control, DIY Multiple Colors on One Line, Color Changing LED Strip Lighting Music Sync, Home Decor, 16.4ft |
|
| 3 | Govee White LED Strip Lights, Upgraded 16.4ft Dimmable LED Light Strip 6500K Bright Daylight White, Strong Adhesive, 300 LEDs Flexible Tape Lights for Mirror, Kitchen Cabinet, Bedroom, Christmas Decor |
|
| 4 | Barrina (6 Pack LED T5 Integrated Single Fixture, 4FT, 2200lm, 6500K Super Bright White, 20W Utility LED Shop Light, Ceiling and Under Cabinet Light, Corded Electric with ON/Off Switch, ETL Listed |
|
| 5 | dalattin White LED Strip Lights, 20ft Dimmable Super Bright 24V Led Tape Light 6500K 360 LEDs Lights for Bedrooms, Mirror, Kitchen, Home Decoration Daylight White |
|
| 6 | NBBUFF Led Lights for Bedroom 50ft (1 Roll), Color Changing RGB Led Strip Lights with 60 Keys Remote and App Control, Music Sync Led Lights for Room Kitchen Party Home Decor |
|
| 7 | DAYBETTER Led Strip Lights 32.8ft Kit with Remote and Power Supply Color Changing |
|
| 8 | KSIPZE 100ft Led Strip Lights RGB Music Sync Color Changing Led Lights with Smart App Control Remote Led Lights for Bedroom Room Lighting Flexible Home Décor |
|
| 9 | DAYBETTER LED Strip Lights 110ft, Smart Lighting Strips with App Remote Control, RGB Music Sync Color Changing Lights for Bedroom Kitchen Party Home Decor Luces led para cuarto (1 Roll) |
|
| 10 | Govee 100ft RGBIC LED Strip Lights, Smart LED Lights Work with Alexa and Google Assistant, LED Lights for Bedroom WiFi App Control Segmented DIY Multiple Colors, Color Changing Light, (2 x 50ft) |
|
Tools and Materials You’ll Need
- LED strip lights and compatible LED driver (power supply)
- Wall switch (standard or dimmer, compatible with your driver)
- Electrical wire (appropriate gauge for AC and DC connections)
- Wire strippers
- Screwdriver set (Phillips and flathead)
- Non-contact voltage tester
- Wire nuts or Wago lever connectors
- Electrical tape
- Junction box (if needed for wire connections)
- Measuring tape
- Soldering iron and solder (optional, for more robust connections to strips)
- Heat shrink tubing or liquid electrical tape (for insulation)
- Mounting clips or channels for LED strips
Step-by-Step Hardwiring Process
1. Preparation and Planning:
- Measure and Cut: Carefully measure the areas where you want to install your LED strips. Cut the strips only at the designated cutting marks (usually indicated by a copper pad or scissor icon).
- Connect Wires to Strips: If your strips don’t come with pre-attached wires, you’ll need to connect them. This can be done using solderless connectors or by carefully soldering wires to the copper pads, ensuring correct positive (+) and negative (-) polarity. Insulate all connections with heat shrink tubing or electrical tape.
- Component Placement: Identify suitable locations for your LED strips, the LED driver, and the wall switch. The LED driver must be mounted in an accessible, well-ventilated area, ideally in a junction box or inside a cabinet where it won’t overheat. Avoid sealing it completely inside a wall cavity.
2. Mounting the LED Driver and Wall Switch:
- Install the Wall Switch: If installing a new switch, install an electrical box in the wall, then wire and mount the wall switch according to the manufacturer’s instructions. If using an existing switch, simply ensure it’s compatible.
- Mount the LED Driver: Secure the LED driver in its chosen location. Ensure there’s adequate airflow around it to prevent overheating, which can shorten its lifespan.
**3. Wiring the AC (High Voltage) Side (