LED strip lights have revolutionized home and commercial lighting, offering incredible versatility and ambiance. Yet, for many DIY enthusiasts, tackling a 90-degree corner can feel like a formidable challenge. You’ve envisioned seamless lines of light tracing your cabinetry, accenting architectural features, or adding a vibrant glow to your entertainment setup, only to be stumped when the strip meets a sharp angle. Don’t let corners dim your lighting dreams! This guide, crafted from a decade of hands-on experience, will walk you through various techniques to confidently achieve clean, functional 90-degree turns with your LED strip lights, transforming tricky angles into stunning design elements.
Understanding LED Strip Lights and Corner Challenges
LED strip lights, at their core, are flexible circuit boards embedded with light-emitting diodes, often backed with adhesive for easy installation. Their primary appeal lies in their adaptability, allowing them to conform to various shapes and surfaces. However, their flexibility has limits, particularly when it comes to sharp 90-degree turns. Forcing a strip to bend too tightly can damage the internal circuitry, break solder joints, or even crack the LED chips themselves, leading to dead sections, flickering, or complete failure.
The key to successful cornering lies in respecting the strip’s design. Most LED strips have designated cut points, typically marked by copper pads. These are the only safe places to cut the strip, ensuring electrical continuity. When approaching a 90-degree angle, simply bending the strip sharply can strain the connections between these cut points, which is why specialized techniques or accessories are essential to maintain functionality and achieve a professional finish.
Method 1: The Flexible Fold (Direct Bending Techniques)
Direct bending methods are ideal for highly flexible LED strips and situations where connectors might be visible or add unwanted bulk. These techniques utilize the strip’s inherent flexibility to create a corner without cutting or additional components.
The 90-Degree Corner Fold
This method is perfect for achieving a neat, integrated look, especially where the strip might be visible. It requires a bit of finesse but produces a clean corner.
- Step 1: Locate the Fold Point: Lay your LED strip flat and identify where the 90-degree turn needs to begin. Ensure this point is between LED segments, avoiding individual diodes or resistors.
- Step 2: First 45-Degree Fold: Carefully fold the strip at a 45-degree angle away from the direction of the intended corner. For example, if you’re turning right, fold it to the left.
- Step 3: Second 45-Degree Fold: Bend the folded section back on itself, creating another 45-degree angle. This should bring the strip into the desired 90-degree orientation.
- Step 4: Crease and Secure: Gently crease the fold to make it sharp. For added stability and a more permanent hold, a small dab of super glue can be applied to the folded section (ensure it doesn’t touch the electrical components or LEDs). This creates a more finished look for visible installations.
|
Our Picks for the Best LED strip light in 2026
As an Amazon Associate I earn from qualifying purchases.
|
||
| Num | Product | Action |
|---|---|---|
| 1 | DAYBETTER Led Strip Lights 32.8ft Kit with Remote and Power Supply Color Changing |

|
| 2 | NBBUFF Led Lights for Bedroom 50ft (1 Roll), Color Changing RGB Led Strip Lights with 60 Keys Remote and App Control, Music Sync Led Lights for Room Kitchen Party Home Decor |
|
| 3 | Govee RGBIC LED Strip Lights, Smart LED Lights for Bedroom, Bluetooth LED Lights APP Control, DIY Multiple Colors on One Line, Color Changing LED Strip Lighting Music Sync, Home Decor, 16.4ft |
|
| 4 | Barrina (6 Pack LED T5 Integrated Single Fixture, 4FT, 2200lm, 6500K Super Bright White, 20W Utility LED Shop Light, Ceiling and Under Cabinet Light, Corded Electric with ON/Off Switch, ETL Listed |
|
| 5 | Govee 100ft RGBIC LED Strip Lights, Smart LED Lights Work with Alexa and Google Assistant, LED Lights for Bedroom WiFi App Control Segmented DIY Multiple Colors, Color Changing Light, (2 x 50ft) |
|
| 6 | dalattin White LED Strip Lights, 20ft Dimmable Super Bright 24V Led Tape Light 6500K 360 LEDs Lights for Bedrooms, Mirror, Kitchen, Home Decoration Daylight White |
|
| 7 | White Led Strip Lights for Bedroom Small Dimmable LED Lights Strip 16.4ft Super Bright Flexible LED Tape Lights Rope Light for for Room Home Decor Luces Leds for Living Room Kitchen Vanity Mirror |
|
| 8 | Govee White LED Strip Lights, Upgraded 16.4ft Dimmable LED Light Strip 6500K Bright Daylight White, Strong Adhesive, 300 LEDs Flexible Tape Lights for Mirror, Kitchen Cabinet, Bedroom, Christmas Decor |
|
| 9 | KSIPZE 100ft Led Strip Lights RGB Music Sync Color Changing Led Lights with Smart App Control Remote Led Lights for Bedroom Room Lighting Flexible Home Décor |
|
| 10 | DAYBETTER LED Strip Lights 110ft, Smart Lighting Strips with App Remote Control, RGB Music Sync Color Changing Lights for Bedroom Kitchen Party Home Decor Luces led para cuarto (1 Roll) |
|
The Ribbon Bend (or 90-Degree Pinch)
Sometimes referred to as a “swivel fold” or “S-bend,” this technique involves creating a small loop that allows the strip to change direction. It’s quick and requires no tools, but the corner might “float” slightly off the surface.
- Step 1: Identify the Turn Point: Determine where the strip needs to make its 90-degree change in direction.
- Step 2: Create a Loop: Gently twist or loop the LED strip back on itself in a tight curl, creating a small, soft bend that allows the strip to transition to the new direction. The key is to avoid sharp creases over active components.
- Step 3: Secure (Optional): This floating section typically won’t impact installation integrity, especially if it’s a short segment. If needed for stability, a small amount of adhesive or a tiny clip can secure the looped portion.
These direct bending methods are best suited for flexible LED strips in areas where the aesthetics of a connector might be undesirable or for quick, hidden installations. Always avoid stressing the individual components on the strip.
Method 2: Seamless Corners with LED Strip Connectors
For a truly clean, reliable, and often easier 90-degree turn, LED strip connectors are a game-changer. These accessories eliminate the need for intricate folding or soldering, making them perfect for DIYers of all skill levels.
Choosing the Right L-Connectors
LED strip connectors come in various forms, but for 90-degree turns, “L-shape” connectors are the most common. They are designed to bridge two cut sections of LED strip, maintaining electrical contact.
- Pin Count: Ensure the connector matches the pin count of your LED strip (e.g., 2-pin for single-color, 4-pin for RGB, 5-pin for RGBW, 6-pin for RGBWW).
- Strip Width: Connectors are specified for certain strip widths (e.g., 8mm, 10mm, 12mm). Match this to your strip for a secure fit.
- Solderless vs. Solder-On: Most DIYers prefer solderless connectors, which use a clamping mechanism. Solder-on connectors require soldering the strip to the connector’s pins.
- Rigid vs. Flexible: Rigid L-connectors create a sharp, fixed 90-degree angle, while flexible jumper connectors (often featuring a wire segment) allow for a softer, more forgiving curve around corners or obstructions.
Step-by-Step: Using Solderless L-Connectors
Solderless connectors offer a straightforward way to achieve a professional-looking corner.
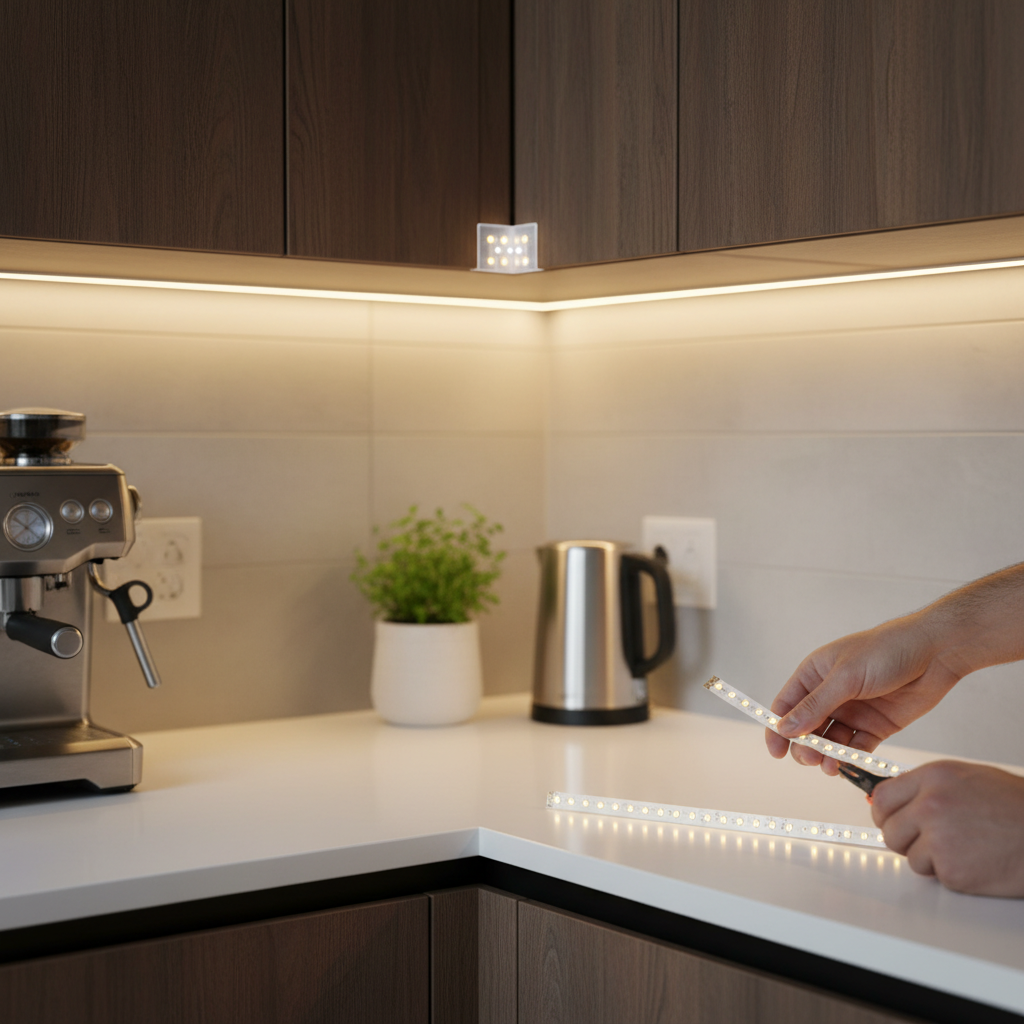
- Step 1: Measure and Cut: Accurately measure the first section of your LED strip. Using sharp scissors or a utility knife, cut the strip precisely at the designated cut mark (usually identified by copper pads or a scissor icon). Repeat for the second section of the strip that will form the other side of the corner.
- Step 2: Prepare the Strip Ends: Gently peel back a small portion of the adhesive backing from the cut ends of both LED strips. This exposes the copper contact pads.
- Step 3: Open the Connector: Open the clasp or lid on both sides of the L-connector.
- Step 4: Insert the Strip: Carefully slide one end of the cut LED strip into one side of the connector, ensuring the copper pads on the strip align perfectly with the metal pins inside the connector. Pay close attention to polarity markings (+ and – or R, G, B, W) to ensure correct color and function.
- Step 5: Close the Clasp: Once aligned, firmly close the clasp or lid on the connector. You should feel a slight click, securing the strip in place and making electrical contact.
- Step 6: Repeat for Second Strip: Insert the second LED strip into the other side of the L-connector, again ensuring proper alignment and polarity. Close the clasp.
- Step 7: Test: Before permanent installation, connect your power supply to the LED strip and test the lights to ensure both sections of the strip illuminate correctly through the connector.
This method is highly recommended for its clean appearance and ease of use, especially for visible installations like under-cabinet lighting or accent features.
Method 3: Precision with Cutting and Soldering
For the most discreet and permanent 90-degree turns, especially in custom installations or when dealing with narrow spaces, cutting and soldering offers unparalleled precision and reliability. While it has a slightly steeper learning curve, the result is a seamless connection.
Essential Soldering Tools
To solder LED strips, you’ll need a few basic tools:
- Soldering Iron: A low-wattage iron (25-40W) with a fine tip is ideal for delicate electronics.
- Solder: Rosin-core electronic solder (e.g., 60/40 tin/lead or lead-free equivalent).
- Wire Strippers/Pliers: For stripping small wires.
- Heat Shrink Tubing: To insulate and protect the soldered connections.
- Heat Gun/Lighter: For shrinking the heat shrink tubing.
- Helping Hands (Optional): A fixture with clamps to hold the strips steady.
- Multimeter (Optional): For checking continuity.
Step-by-Step: Soldering a 90-Degree Turn
This method allows for custom angles and extremely flat connections.
- Step 1: Prepare the Strips: Cut your LED strip at the designated copper pads for both sections of the corner. If using connecting wires, strip a small amount of insulation from both ends of the wires.
- Step 2: Tin the Pads: Apply a small amount of solder to each copper pad on the cut ends of both LED strips. This process, called “tinning,” helps the new solder adhere better.
- Step 3: Tin the Wires (if used): If using short connecting wires, tin the ends of these wires as well.
- Step 4: Solder the Connection: Carefully align the first strip’s pads with the connecting wires (or directly with the second strip’s pads if making a direct connection). Heat each tinned pad with the soldering iron and touch the tinned wire (or the second strip’s tinned pad) to the melted solder. Remove the iron once a solid joint forms. Work quickly to avoid overheating the strip. Ensure correct polarity.
- Step 5: Test Connection: Before insulating, briefly connect the power supply to ensure all LEDs are working correctly through the soldered joint.
- Step 6: Insulate with Heat Shrink: Cut small pieces of heat shrink tubing, long enough to cover each soldered joint. Slide the tubing over the connections and use a heat gun (or carefully, a lighter) to shrink it snugly around the solder joints, providing insulation and mechanical protection.
Soldering provides the most durable and aesthetically minimal solution for 90-degree turns, making it a favored choice for professional installations and enthusiasts seeking perfection.
Essential Tips for Perfect LED Strip Corner Installations
Achieving flawless LED strip light turns requires attention to detail. Keep these expert tips in mind for best results:
- Always Cut at Designated Marks: Look for copper pads or a scissor icon on your LED strip. Cutting anywhere else can damage the circuit, rendering a section of your strip unusable.
- Test Connections Before Permanent Installation: Whether you’re folding, using connectors, or soldering, always test the light strip before fully adhering it to the surface. This saves you from tedious re-work.
- Measure Twice, Cut Once: Precision is paramount. Double-check your measurements for each segment to minimize waste and ensure your turns align perfectly with your space.
- Consider the Strip’s IP Rating: If installing in areas exposed to moisture or dust, ensure your connectors or soldered joints are properly sealed to maintain the strip’s ingress protection (IP) rating. Waterproof connectors or marine-grade heat shrink tubing can be used for soldered connections.
- Mind Your Polarity: LED strips are polarity-sensitive. Ensure that positive (+) connects to positive and negative (-) connects to negative (or R to R, G to G, etc., for RGB strips). Incorrect polarity will prevent the lights from working or display incorrect colors.
- Manage Excess Cable: For connector-based solutions, if the connecting wire on a flexible jumper is too long, gently coil it or tuck it away neatly to maintain a clean appearance.
Troubleshooting Common Issues
Even with careful planning, you might encounter a snag. Here’s how to address frequent problems:
- Lights Not Working After a Turn:
- Check Polarity: The most common culprit. Ensure + aligns with + and – with – on connectors or soldered joints.
- Secure Connection: For solderless connectors, reopen and reinsert the strip, ensuring the copper pads make firm contact with the connector pins. For soldered joints, check for cold solder joints (dull, lumpy appearance) and reheat if necessary.
- Damaged Strip: If a section remains dark, the strip might have been bent or cut incorrectly, damaging the circuit. Isolate the faulty section.
- Uneven Brightness or Color Discrepancies:
- Loose Connections: Similar to lights not working, a partial connection can cause inconsistent power delivery.
- Power Drop: For very long runs, voltage drop can occur. Ensure your power supply is adequate for the total length of your strip, including segments around corners.
- Loose Connections or Connector Slippage:
- Ensure Proper Fit: Make sure the connector matches your strip width.
- Add Reinforcement: For high-traffic areas, consider adding a small piece of electrical tape or a dab of hot glue (away from contacts) around the connector once everything is tested and secure.
“Making perfect 90-degree turns with LED strips is about combining precision with the right technique. Don’t be afraid to experiment with connectors for ease, or hone your soldering skills for a truly integrated, professional finish.” – Alex Chen, Lead LED Lighting Technician
Conclusion
Mastering 90-degree turns with LED strip lights is an essential skill for anyone looking to create professional-grade lighting installations. Whether you opt for the simplicity of direct bending, the convenience of solderless connectors, or the precision of soldering, each method offers a viable path to a perfectly lit corner. By understanding the nuances of your LED strips, choosing the appropriate technique, and adhering to best practices, you can confidently navigate any angle, ensuring your lighting vision shines brightly. So, which method will you try first to transform your next DIY lighting project?
Frequently Asked Questions
Can all LED strips be bent around corners?
No, not all LED strips are designed for tight bends. While flexible strips can accommodate some direct folding, rigid strips or those with larger components often require L-connectors or soldering to make clean, functional 90-degree turns without damage. Always check the manufacturer’s recommendations.
What are the main advantages of using connectors for 90-degree turns?
Connectors offer a quick, solderless solution that’s easy for beginners. They provide a clean, consistent aesthetic, especially with rigid L-connectors, and help maintain electrical continuity without the risk of damaging the strip’s internal circuitry through excessive bending.
Is soldering LED strips difficult for beginners?
Soldering LED strips requires a steady hand and some practice but is a manageable skill for beginners to learn. With a low-wattage iron, appropriate solder, and clear instructions, you can achieve strong, durable connections that are virtually invisible when done correctly.
How do I ensure the 90-degree turn is secure and won’t detach over time?
To ensure security, firmly close solderless connector clasps and test connections before permanent installation. For direct folds, a small dab of super glue can reinforce the crease. For soldered joints, properly insulating with heat shrink tubing provides both electrical safety and mechanical stability, preventing detachment.